Configure Endpoint Agents
Permit a Windows endpoint, install Elastic Agent, and prove that current Windows and optional Sysmon events reach Security Onion.
Before you begin
Record the endpoint identity and expected policy. Security Onion currently uses TCP 8220, 8443, and 5055 between endpoint Elastic Agents and a Standalone manager; permit only the intended endpoint subnet and verify current vendor requirements before deployment.
Verify before overriding security controls
Download the installer only from the authenticated SOC interface. Verify its signature or checksum before overriding a SmartScreen warning.
Detailed endpoint procedure
Configuring Security Onion Firewall
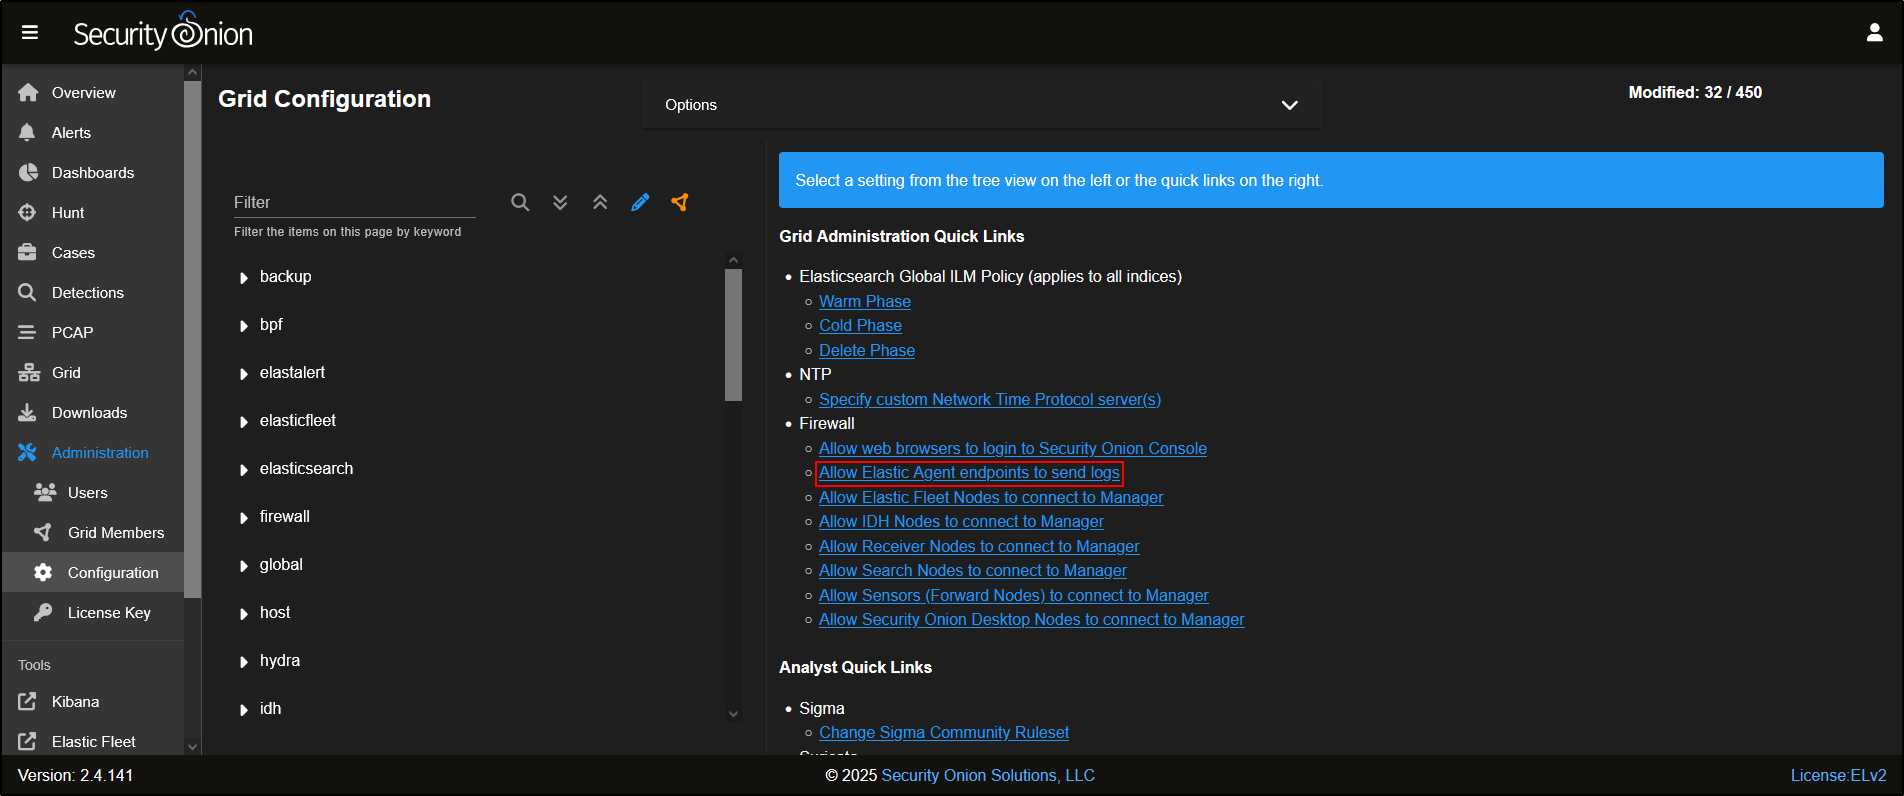
To allow the agent to connect through the firewall, navigate to Administration → Configuration.
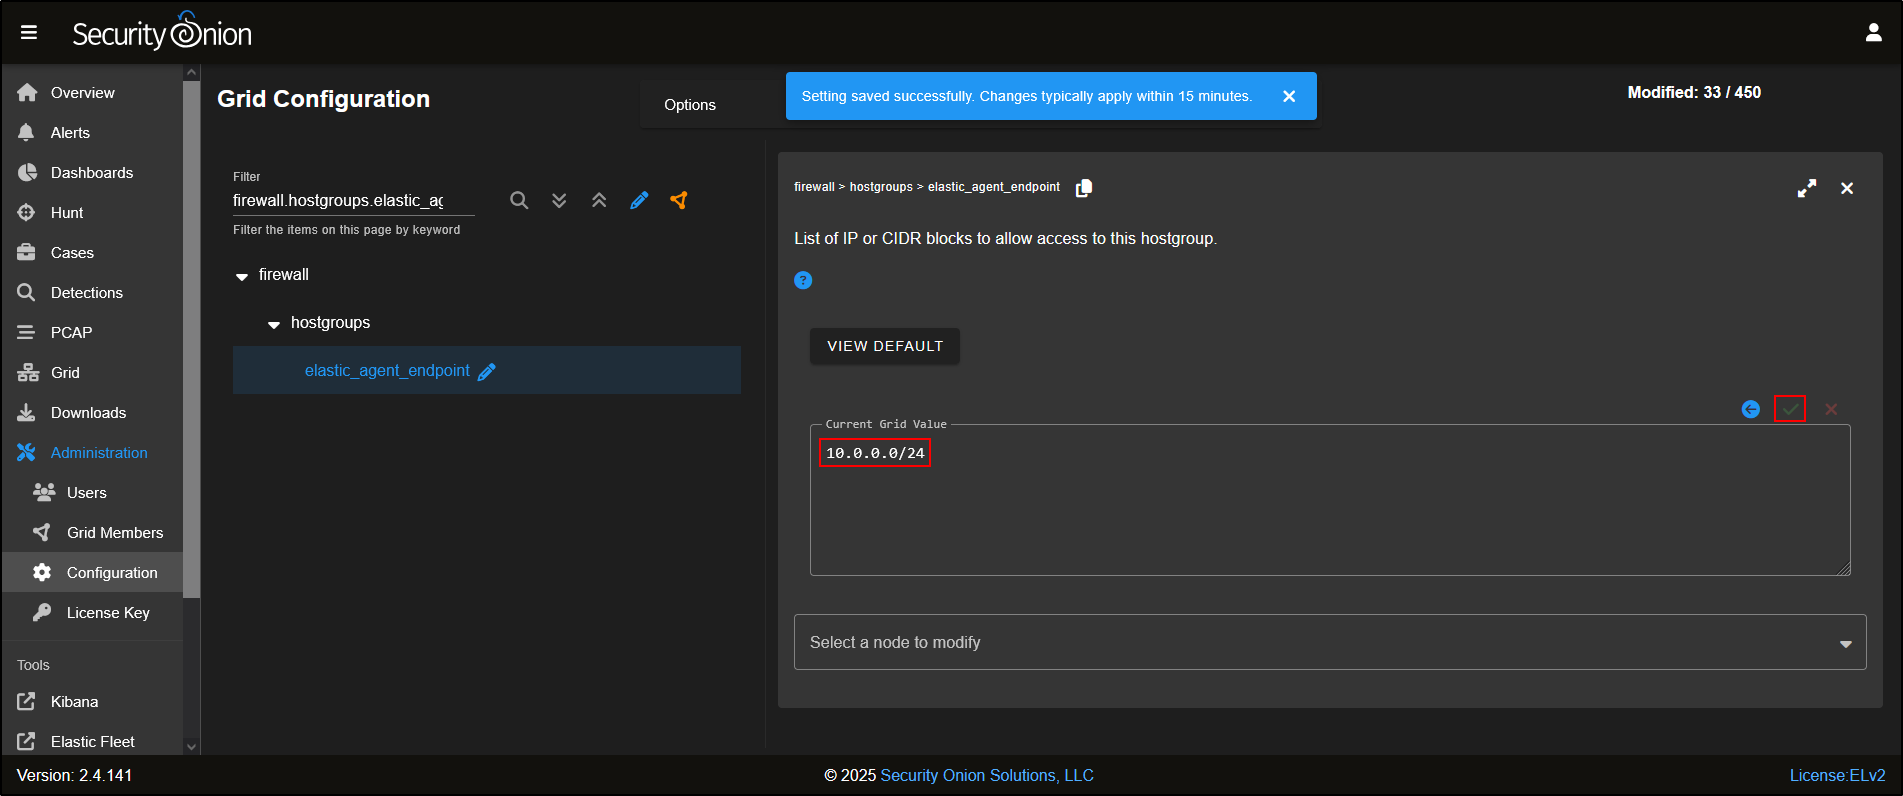
Select the quick link Allow Elastic Agent endpoints to send logs. This will automatically select firewall → hostgroups → elastic_agent_endpoint. Add *the agent’s subnet. Click the *green checkmark to apply changes. Note that the changes typically apply within 15 minutes.
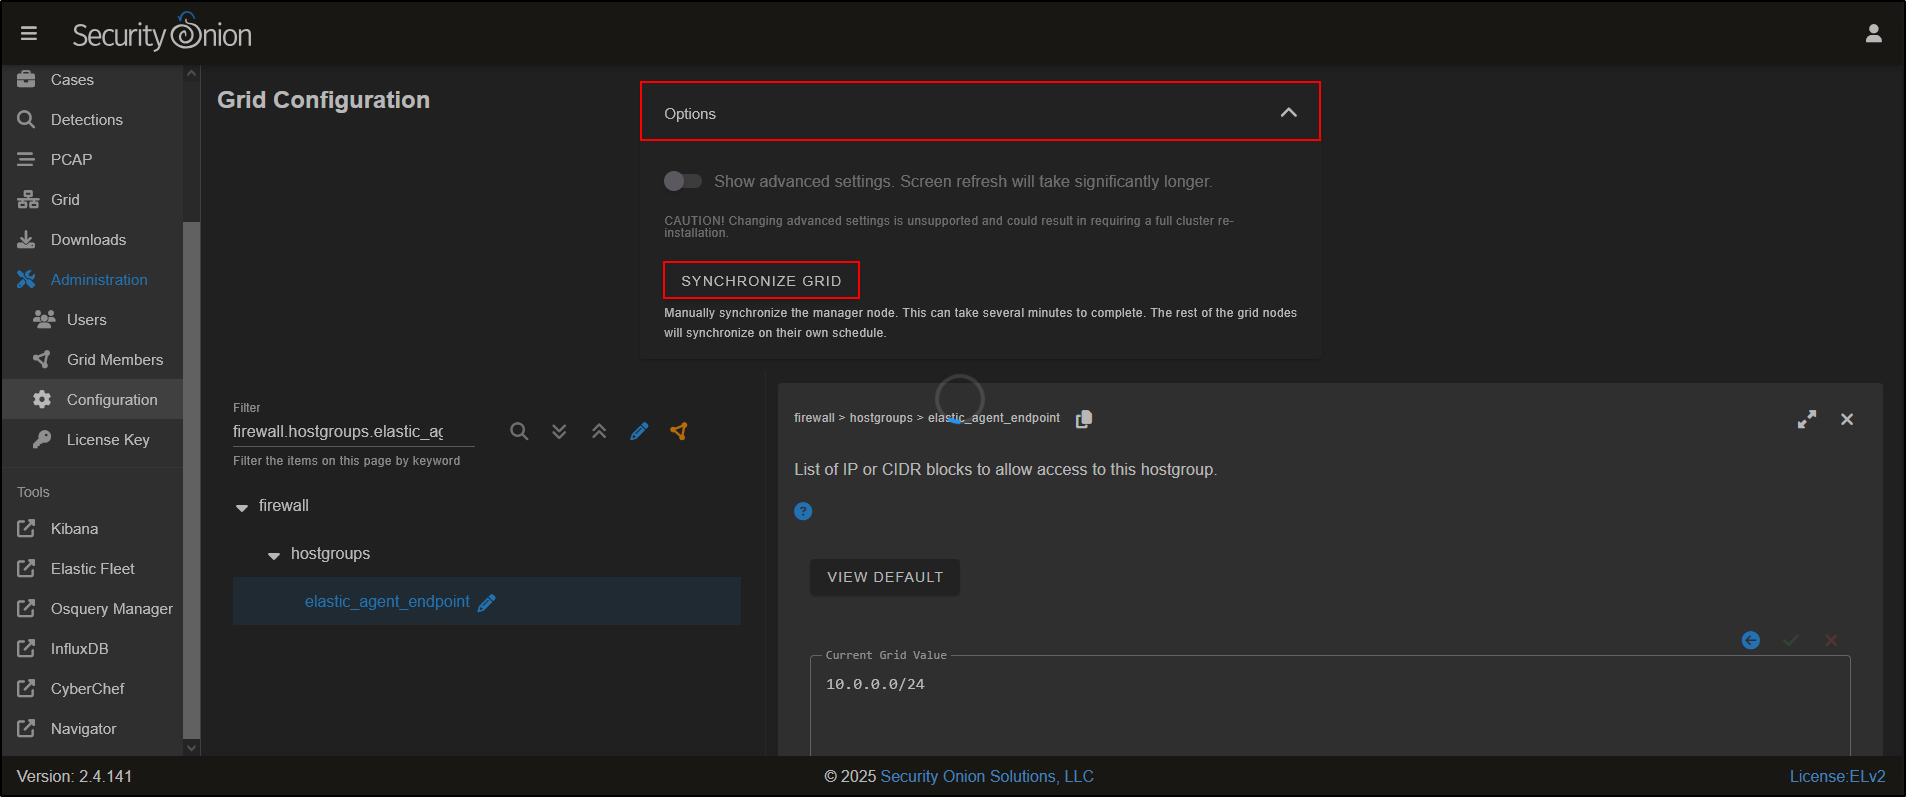
Click on Options and Synchronize Grid to push out changes. Please note that this can take several minutes to complete.
Deploying Elastic Agent on Windows
After waiting for the firewall change to apply, verify the required Elastic
Agent paths from an elevated PowerShell session on the Windows VM. Replace
<SECURITY_ONION_IP> with the manager address.
Test-NetConnection <SECURITY_ONION_IP> -Port 8220
Test-NetConnection <SECURITY_ONION_IP> -Port 8443
Test-NetConnection <SECURITY_ONION_IP> -Port 5055
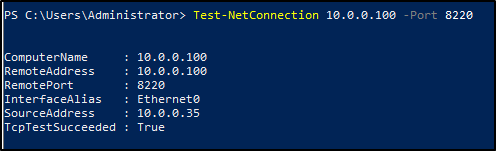
Each required test should report TcpTestSucceeded : True. If one fails,
confirm the Security Onion host group, intervening firewall policy, routing,
and destination service before installing the agent.
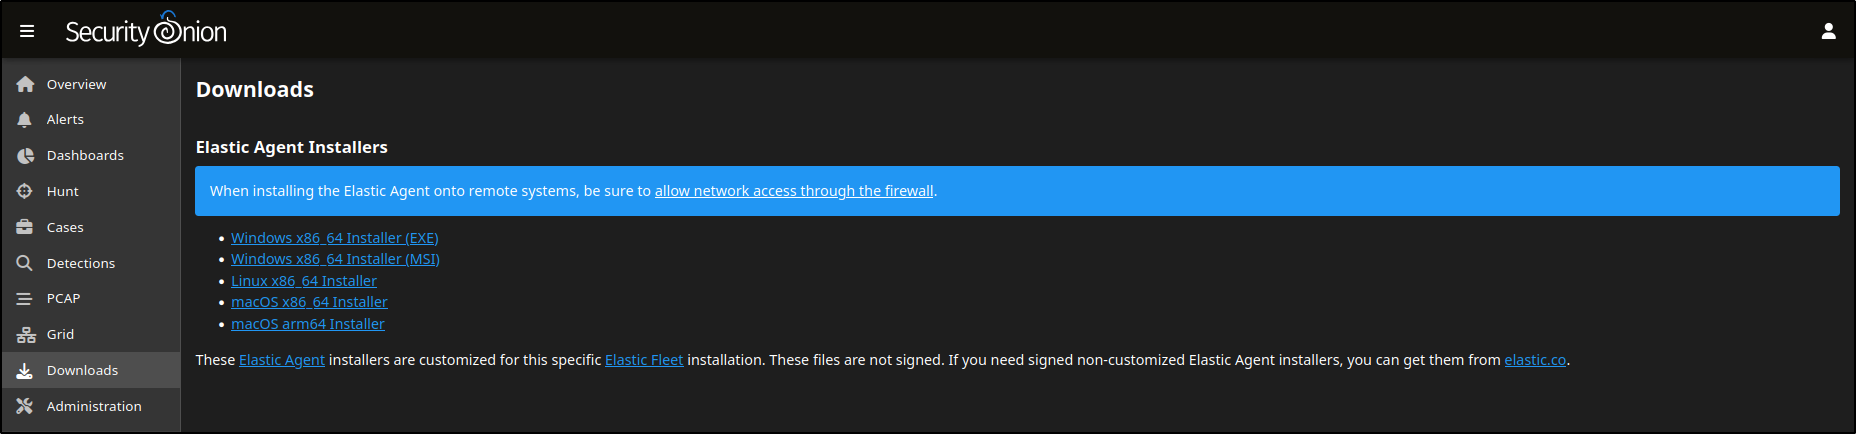
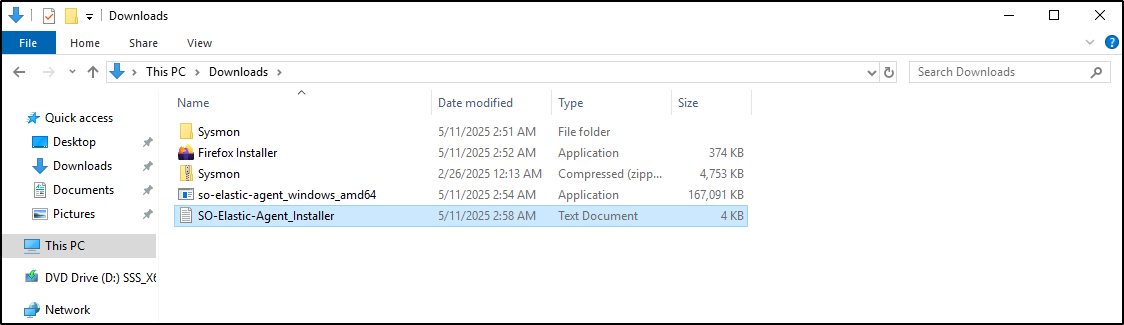
Navigate to the Downloads page and download the Windows Elastic agent (exe).
Sysmon is optional
The demonstrated WS2019 VM already has Sysmon installed. To ingest Sysmon events in your lab, install and validate Sysmon before continuing.
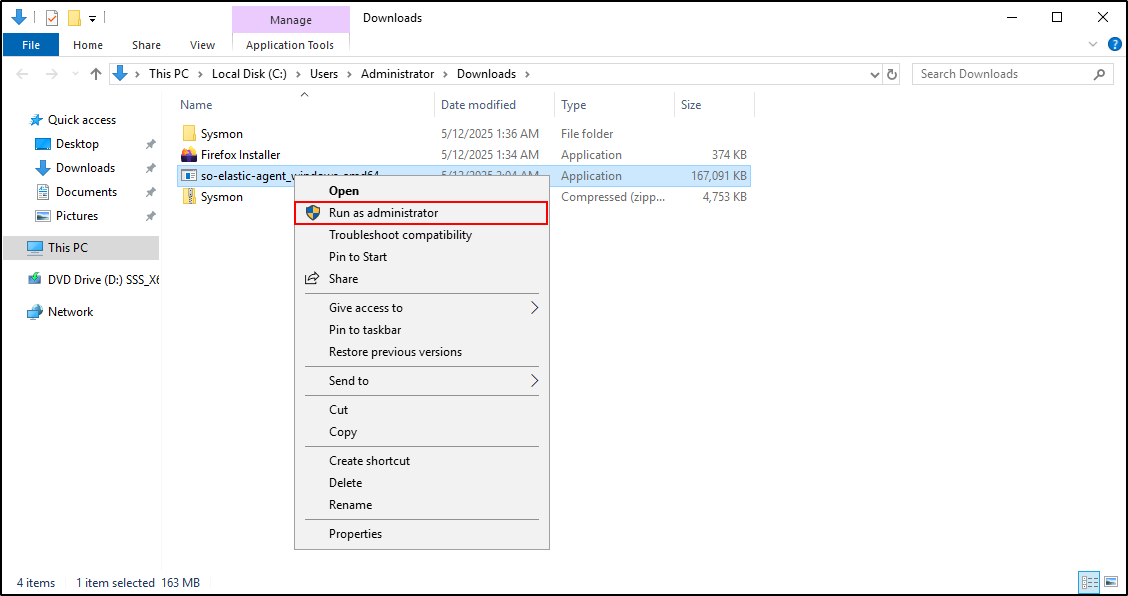
Right-click on the elastic agent and click Run as administrator.
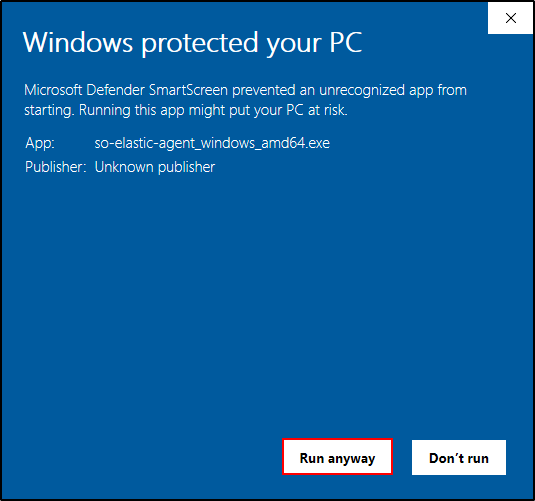
If Microsoft Defender SmartScreen prevents the installer from running, stop and verify that it came from the authenticated Security Onion SOC Downloads page. Check its digital signature or recorded checksum before selecting More info and Run anyway in an authorised lab.
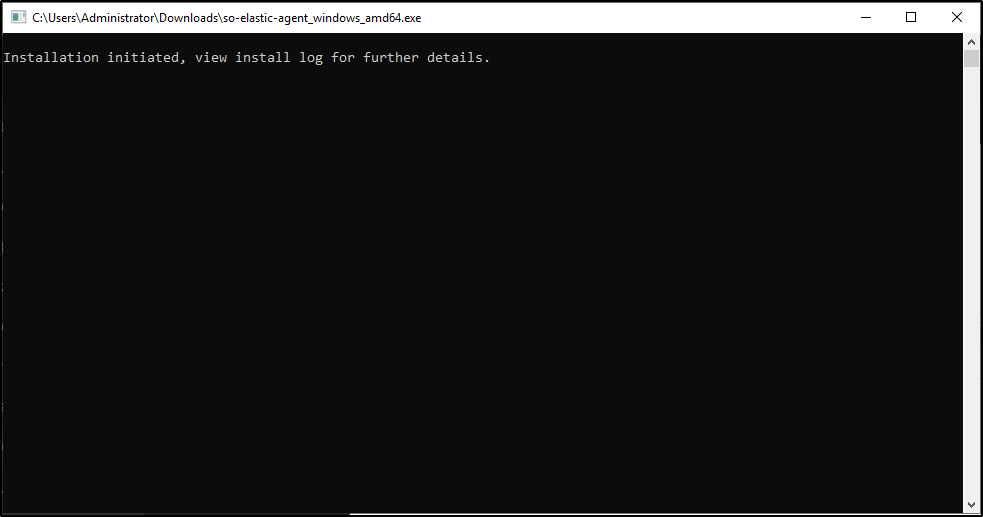
Installation will be initiated.
After installation is complete, check the Elastic agent installer log.
You should see Elastic Agent has been successfully installed and Elastic Agent Installation completed.
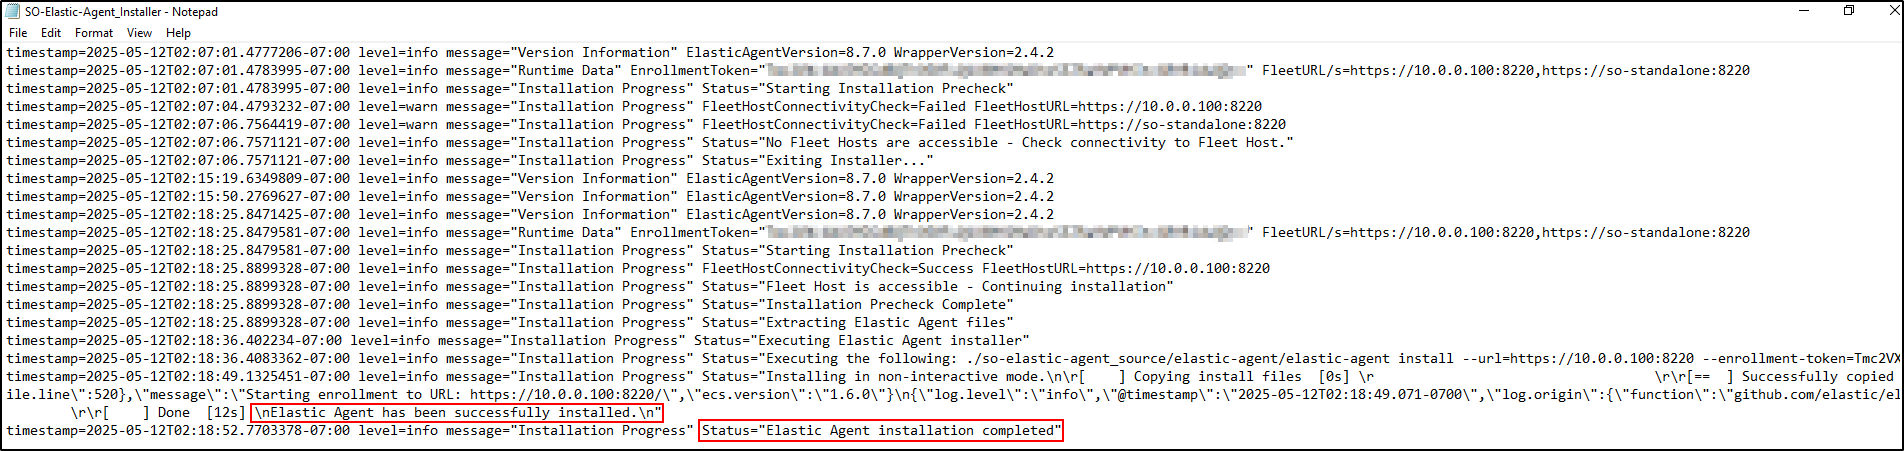
If you encounter an error, try installing the Elastic agent again. If the error persists, refer to the Security Onion documentation for troubleshooting.
By default, Security Onion’s Fleet agent policies include integrations that collect Windows event logs from key channels such as PowerShell, ForwardedEvents, and Sysmon Operational.
You can check agent policies by navigating to Elastic Fleet → Agent policies → endpoints-initial → windows-endpoints.
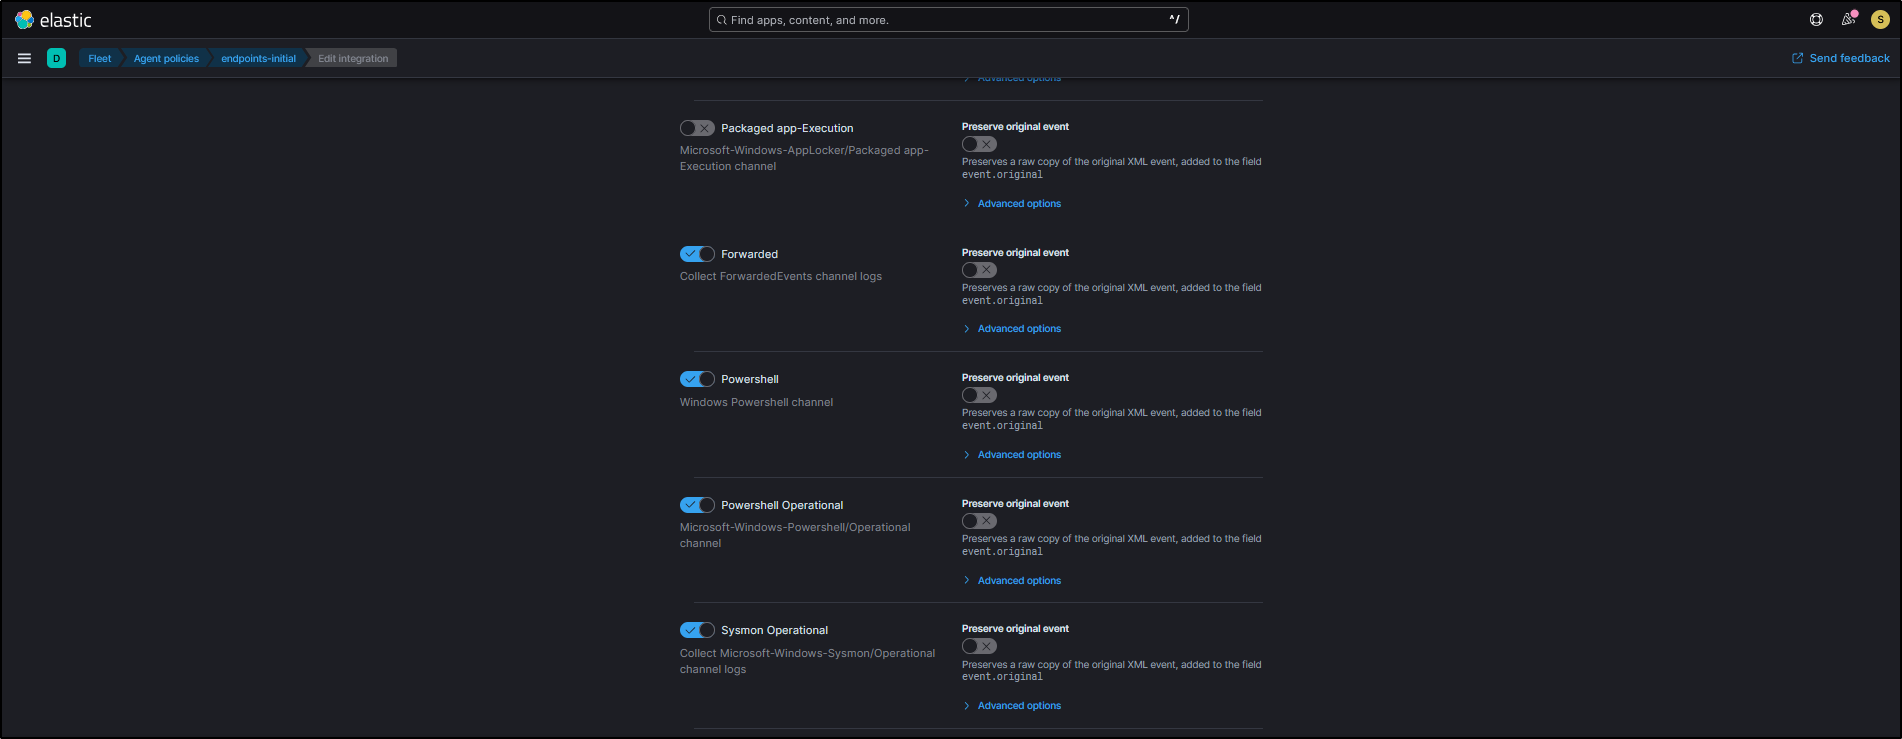
Checking Host Logs in Dashboard
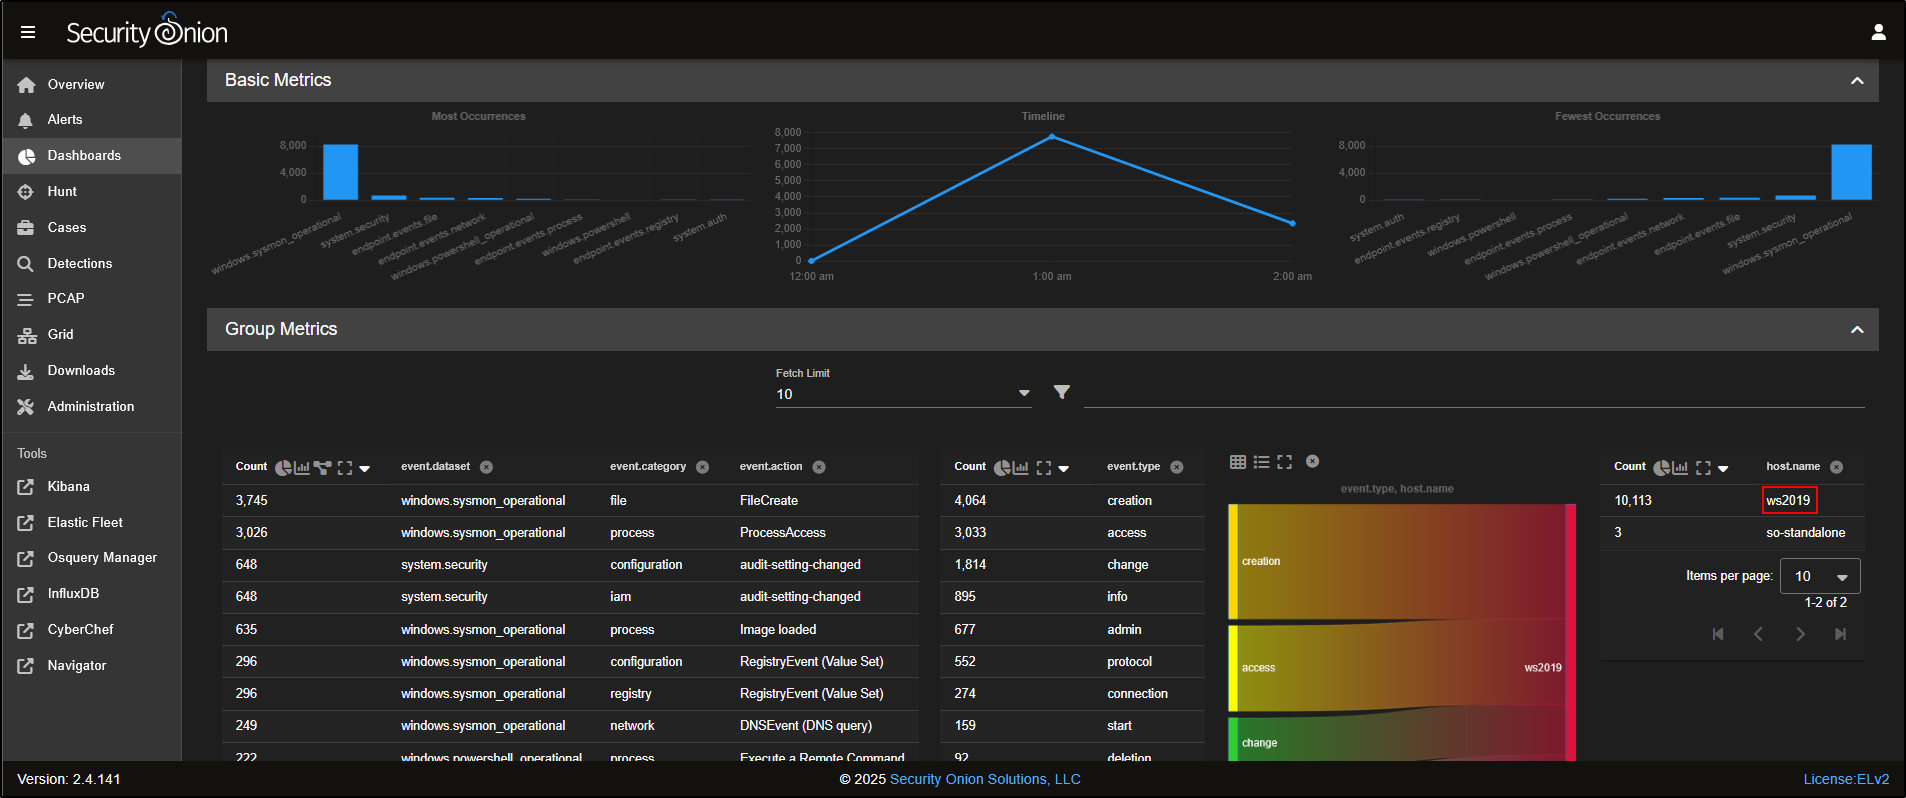
To verify that host logs are being ingested, navigate to the Dashboards page and select Host Overview on SOC web interface.
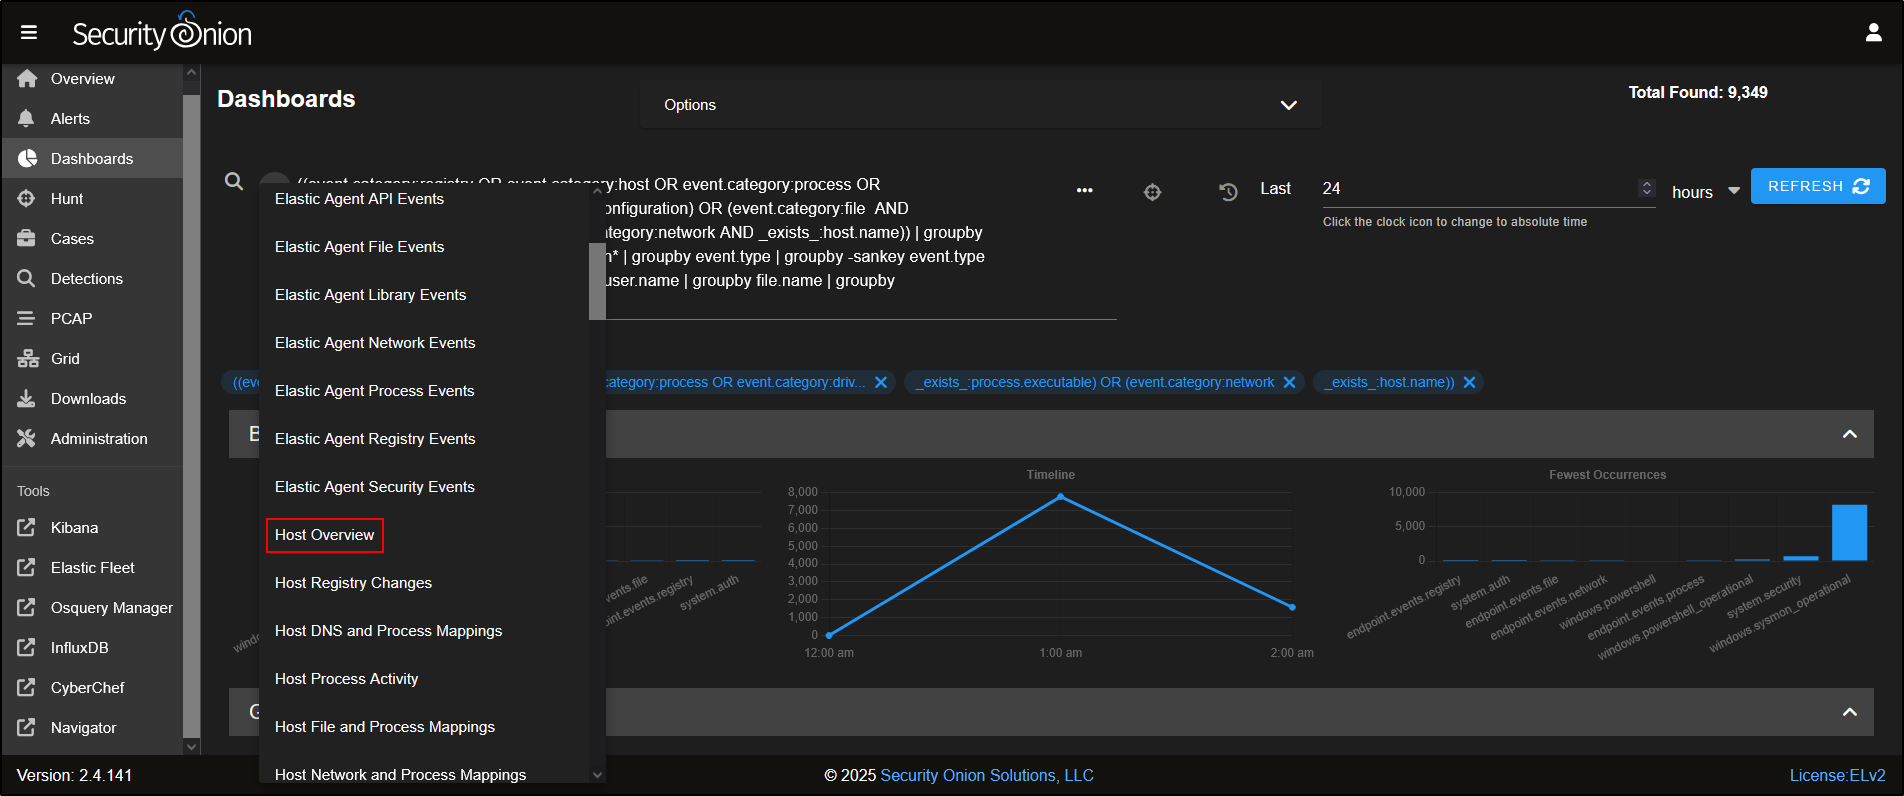
This gives us high-level view of host logs that are being ingested via Elastic agent. We see Sysmon logs and Windows event logs being ingested from the host WS2019.
Checkpoint: trace one endpoint event
Generate a benign Windows event, record its time and host, and locate the same event in SOC. Confirm agent status, policy, dataset, hostname, timestamp, and relevant event fields rather than relying only on a dashboard count.