Install Splunk Enterprise
Reproduce the offline Splunk Enterprise installation demonstrated in the PoC and verify the receiving services required by later journeys.
Installing Splunk Enterprise Offline
This documentation explains how the PoC installation was performed offline on Ubuntu or CentOS virtual machines (VMs). See the Splunk Enterprise installation guidance for current vendor requirements and supported platforms.
Related demonstrations: lab walkthrough part 1, part 2, part 3, and part 4.
On an Internet-Connected Machine (Ubuntu)
On an internet-connected Ubuntu VM, refresh the package lists from the repositories and create a structured directory for downloading dependencies:
Download and install VM tools and its dependencies (this will enable copy and pasting and dynamic resolution). After installing VM tools, reboot the VM.
cd ~/splunk-offline/vmtools
apt-get download \
  libatkmm-1.6-1v5 \
  libcairomm-1.0-1v5 \
  libglibmm-2.4-1t64 \
  libgtkmm-3.0-1t64 \
  libmspack0t64 \
  libpangomm-1.4-1v5 \
  libsigc++-2.0-0v5 \
  libxmlsec1t64 \
  libxmlsec1t64-openssl \
  open-vm-tools \
  open-vm-tools-desktop \
  zerofree
sudo dpkg -i *.deb
Register on the Splunk website for a free trial and download Splunk Enterprise for Linux. There are options for .tgz, .deb, and .rpm. Use wget and copy and paste the wget link in the splunk-offline directory.
cd ~/splunk-offline
wget -O splunk-9.4.1-linux-amd64.tgz "https://download.splunk.com/products/splunk/releases/9.4.1/linux/splunk-9.4.1-<SNIP>-linux-amd64.tgz"
Download Docker Engine and its dependencies. If you are using CentOS, skip this step as Podman is already installed.
#Ubuntu 22.04
cd ~/splunk-offline/docker
wget https://download.docker.com/linux/ubuntu/dists/jammy/pool/stable/amd64/containerd.io_1.7.25-1_amd64.deb
wget https://download.docker.com/linux/ubuntu/dists/jammy/pool/stable/amd64/docker-ce_28.0.0-1~ubuntu.22.04~jammy_amd64.deb
wget https://download.docker.com/linux/ubuntu/dists/jammy/pool/stable/amd64/docker-ce-cli_28.0.0-1~ubuntu.22.04~jammy_amd64.deb
wget https://download.docker.com/linux/ubuntu/dists/jammy/pool/stable/amd64/docker-buildx-plugin_0.21.0-1~ubuntu.22.04~jammy_amd64.deb
wget https://download.docker.com/linux/ubuntu/dists/jammy/pool/stable/amd64/docker-compose-plugin_2.33.0-1~ubuntu.22.04~jammy_amd64.deb
#Ubuntu 24.04
cd ~/splunk-offline/docker
wget https://download.docker.com/linux/ubuntu/dists/noble/pool/stable/amd64/containerd.io_1.7.25-1_amd64.deb
wget https://download.docker.com/linux/ubuntu/dists/noble/pool/stable/amd64/docker-ce_28.0.0-1~ubuntu.24.04~noble_amd64.deb
wget https://download.docker.com/linux/ubuntu/dists/noble/pool/stable/amd64/docker-ce-cli_28.0.0-1~ubuntu.24.04~noble_amd64.deb
wget https://download.docker.com/linux/ubuntu/dists/noble/pool/stable/amd64/docker-buildx-plugin_0.21.0-1~ubuntu.24.04~noble_amd64.deb
wget https://download.docker.com/linux/ubuntu/dists/noble/pool/stable/amd64/docker-compose-plugin_2.33.0-1~ubuntu.24.04~noble_amd64.deb
Download net-tools.
Download the latest SC4S container image oci_container.tgz from SC4S GitHub page.
cd ~/splunk-offline/sc4s
wget https://github.com/splunk/splunk-connect-for-syslog/releases/download/v3.34.3/oci_container.tar.gz
Download the following Splunk Apps (tar archive files). You will need to login using the registered credential.
- Splunk Add-on for MS Windows
- Splunk Add-on for Sysmon
- Fortinet FortiGate Add-On for Splunk (optional: required if ingesting FortiGate logs through this App)
- Splunk Add-on for Unix and Linux
Copy the Splunk Apps to ~/splunk-offline/apps/ directory. Verify that the apps have been copied.
Compress all dependencies with sudo privileges before transferring them. This process may take some time.
Change the ownership of splunk-offline.tar.gz to your standard user and group, then verify the change.
Transfer splunk-offline.tar.gz to the air-gapped Ubuntu VM using a USB drive.
On the Air-Gapped Environment
On the air-gapped VM, make a directory called splunk-offline and extract the transferred archive. This process may take some time.
Install VM tools and its dependencies (this will enable copy and pasting and dynamic resolution). After installing VM tools, reboot the VM.
Install Docker and its dependencies. Verify Installation.
Run sudo service docker start
Run the following command to add your user to the docker group:
Reload the group membership for your current session with the following command:
Check if you can run Docker commands without sudo:
Install net-tools and verify installation.
In a new tab as the standard user, set the host OS kernel to match the default receiver buffer of SC4S, which is set to 16MB. Add the following content to /etc/sysctl.conf:
Apply to the kernel by running the command sysctl -p
Ensure the kernel is not dropping packets. Please note that you may see some packet receive errors due to the air-gapped environment. These errors can be ignored.
Extract the splunk-offline tar archive to the /opt directory.
Create user splunk and change ownership of /opt/splunk directory to the splunk user. Enter password and user information for the splunk user (use default values by pressing enter ).
If you are using CentOS, after adding user, go to settings > Users. Unlock to Change Settings. Set password for the splunk user. Make the splunk user the owner of the /opt/splunk directory and verify the ownership.
#Example output
total 12
drwxr-xr-x  3 root   root   4096 Sep 18 15:36 .
drwxr-xr-x 20 root   root   4096 Sep 18 15:21 ..
drwxr-xr-x 11 **splunk splunk** 4096 Sep  6 05:58 splunk
Switch to splunk user and start Splunk Enterprise. When prompted, create admin credentials.
This appears to be your first time running this version of Splunk.

Splunk software must create an administrator account during startup. Otherwise, you cannot log in.
Create credentials for the administrator account.
Characters do not appear on the screen when you type in credentials.

Please enter an administrator username: splunk #Create your username
Password must contain at least: #Create your password
   * 8 total printable ASCII character(s).
Please enter a new password:
Please confirm new password:
In the /opt/splunk/bin/ directory, configure Splunk to listen on port 9997
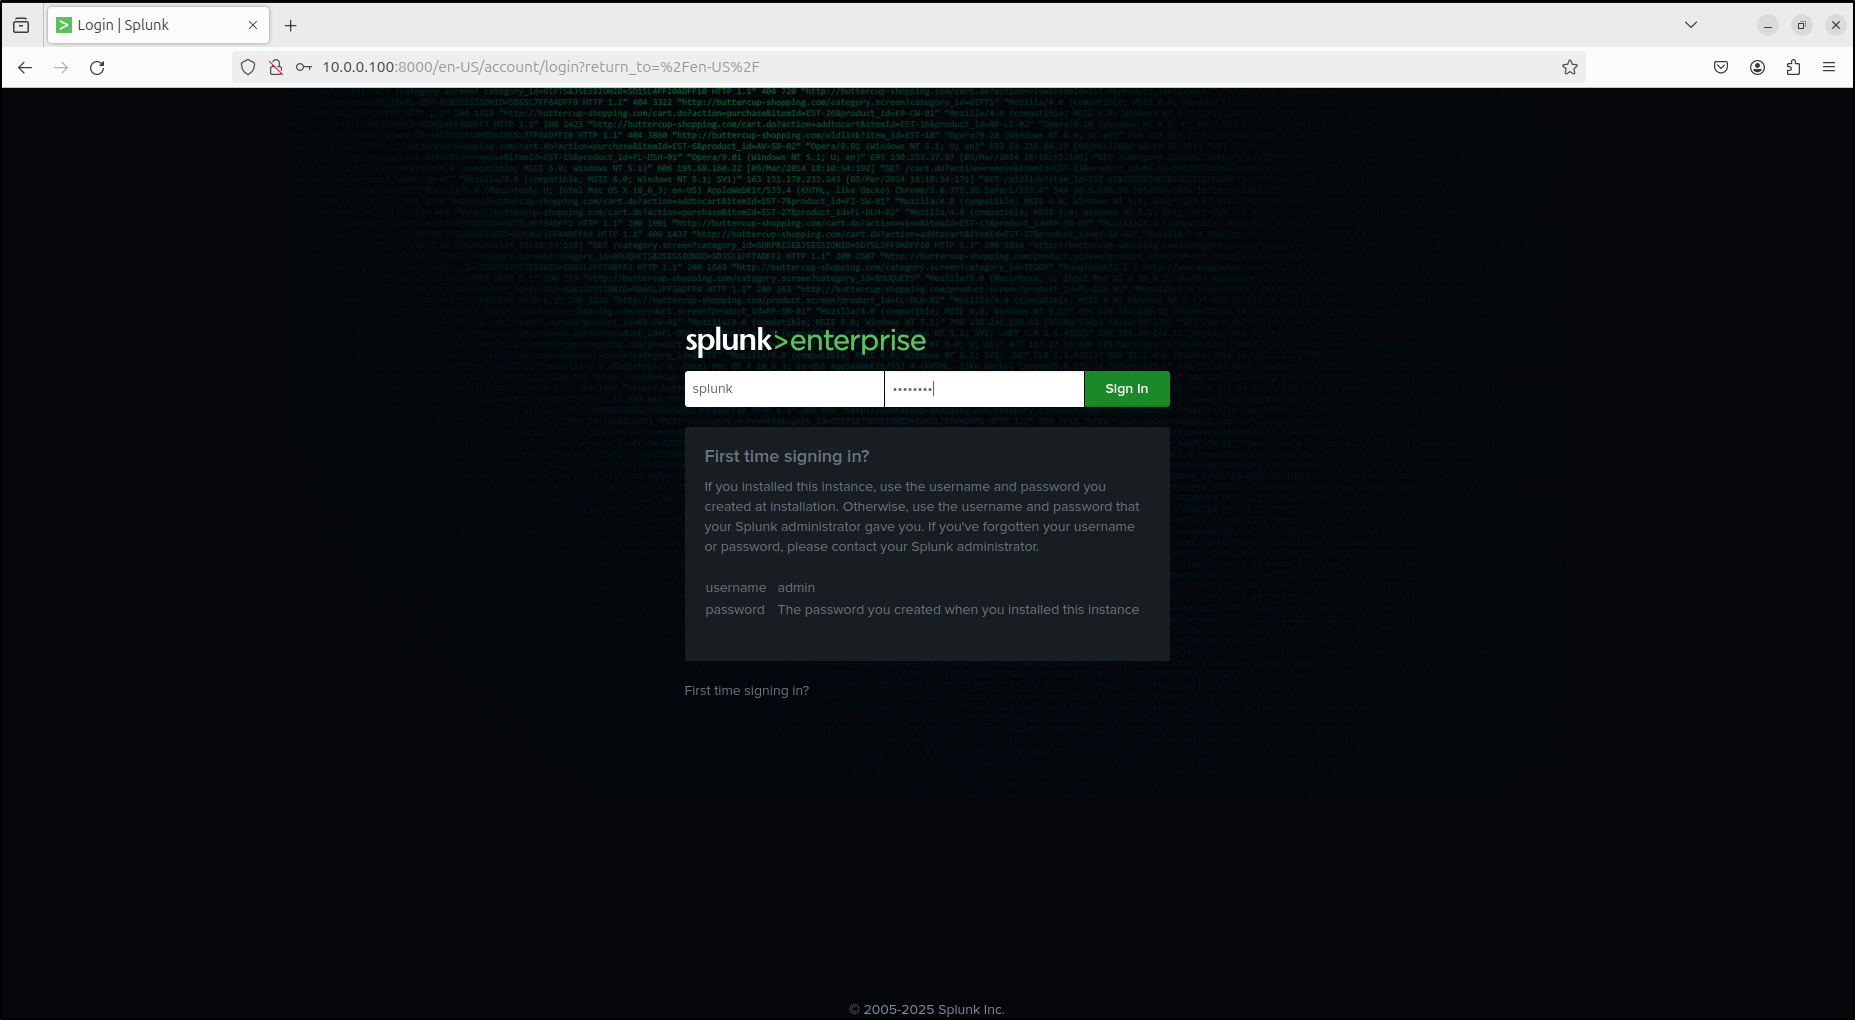
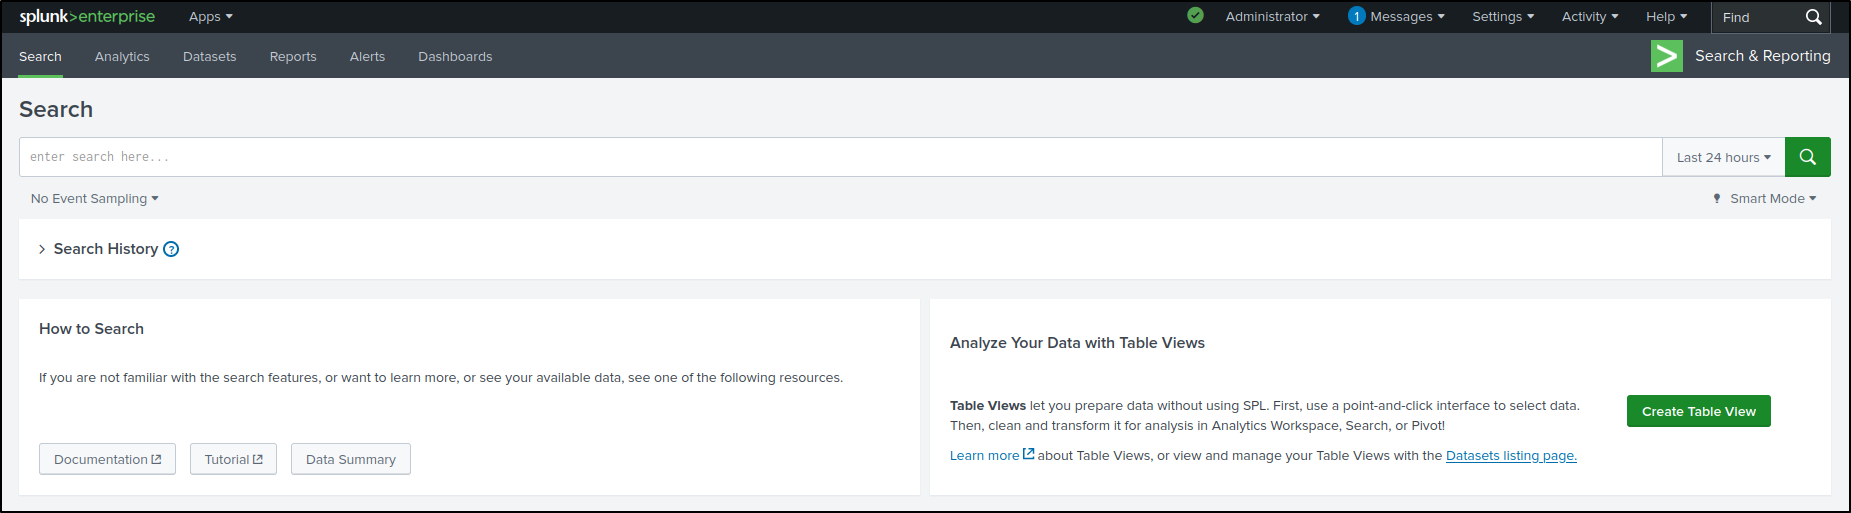
Checkpoint: open Splunk Web
Navigate to https://<IP-address>:8000 in a web browser when Splunk Web TLS is
configured. The initial lab listener may use http://<IP-address>:8000; treat
that as a temporary isolated-lab bootstrap path and do not send administrator
credentials over an untrusted network. Enter the Splunk admin
credentials and confirm that the Splunk Web interface opens.
Configuring Firewall (Optional)
Firewall changes can interrupt access
Confirm the required ports and source networks before enabling the firewall. Keep your current administration session open until you have verified that management access still works.
On Ubuntu, run the following command as a standard user in a new tab. This will configure and enable Firewall. In this lab, however, we will disable the firewall.
sudo ufw allow 514/tcp  # syslog TCP
sudo ufw allow 514/udp  # syslog UDP
sudo ufw allow 6514/tcp # syslog TLS
sudo ufw allow 5425/tcp # syslog
sudo ufw allow 601/tcp  # syslog
sudo ufw allow 8000/tcp # Web UI Port
sudo ufw allow 8088/tcp # HEC Port
sudo ufw allow 8089/tcp # Management Port
sudo ufw allow 9997/tcp # Data flow
sudo ufw allow 8065/tcp # Appserver
sudo ufw allow 8191/tcp # KVstore
sudo ufw enable
sudo ufw reload
Alternatively, if you are on CentOS, run the following command to configure and enable Firewall:
sudo firewall-cmd --zone=public --add-port=514/tcp --permanent # syslog TCP
sudo firewall-cmd --zone=public --add-port=514/udp --permanent # syslog UDP
sudo firewall-cmd --zone=public --add-port=5514/udp --permanent # syslog UDP
sudo firewall-cmd --zone=public --add-port=6514/tcp --permanent # syslog TLS
sudo firewall-cmd --zone=public --add-port=5425/tcp --permanent # syslog
sudo firewall-cmd --zone=public --add-port=601/tcp --permanent # syslog
sudo firewall-cmd --zone=public --add-port=8000/tcp --permanent # Web UI Port
sudo firewall-cmd --zone=public --add-port=8080/tcp --permanent # HEC port
sudo firewall-cmd --zone=public --add-port=8088/tcp --permanent # HEC port
sudo firewall-cmd --zone=public --add-port=8089/tcp --permanent # Managment Port
sudo firewall-cmd --zone=public --add-port=9997/tcp --permanent # Data flow
sudo firewall-cmd --zone=public --add-port=8065/tcp --permanent # appserver
sudo firewall-cmd --zone=public --add-port=8191/tcp --permanent # kvstore
sudo firewall-cmd --reload
sudo firewall-cmd --list-all