Install Security Onion
Deploy a Standalone Security Onion node and verify that SOC and its required services are healthy.
Before you begin
Verify the ISO checksum, record the exact release, and allocate at least 4 CPU cores, 24 GB RAM, 200 GB local storage, and separate management and sniffing interfaces. The sniffing interface should receive only traffic you are authorised to monitor and should not carry an IP address.
Protect access and evidence
Use strong unique credentials, restrict SOC access to the analyst subnet, and keep a recovery path available while changing network settings.
Detailed installation procedure
Installing Security Onion Manager (Standalone)
This section explains how to set up the Security Onion Manager in Standalone mode using VMware Workstation.
Head over to the official Security Onion download page and download the ISO file for the latest release.
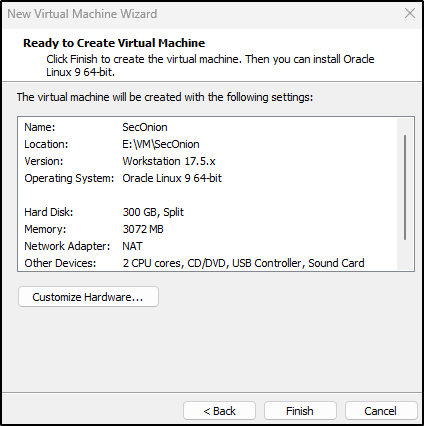
Open VMware Workstation and select Create New Virtual Machine. Choose Typical and click Next.

Select I will install the Operating System (OS) later.
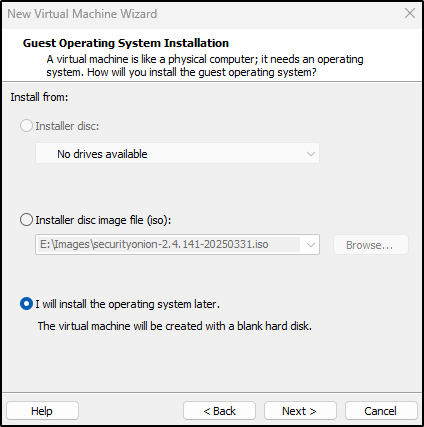
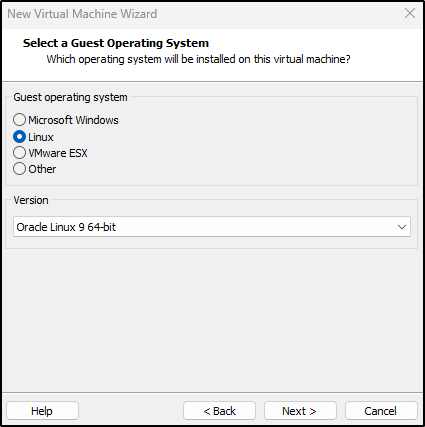
For Guest operating system, select Linux and Oracle Linux 9 (64-bit).
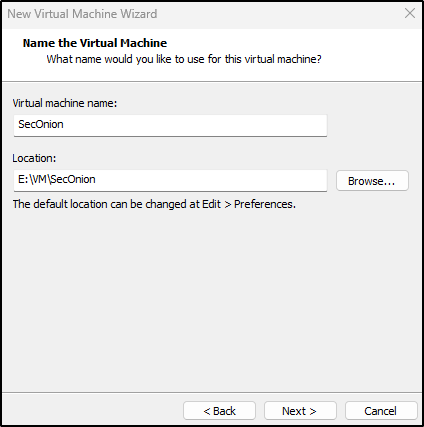
Enter the Virtual machine name (e.g., SecOnion) and choose where to save it.
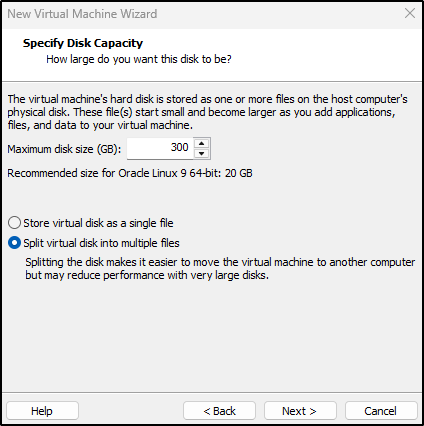
Set the disk size to at least 200 GB.
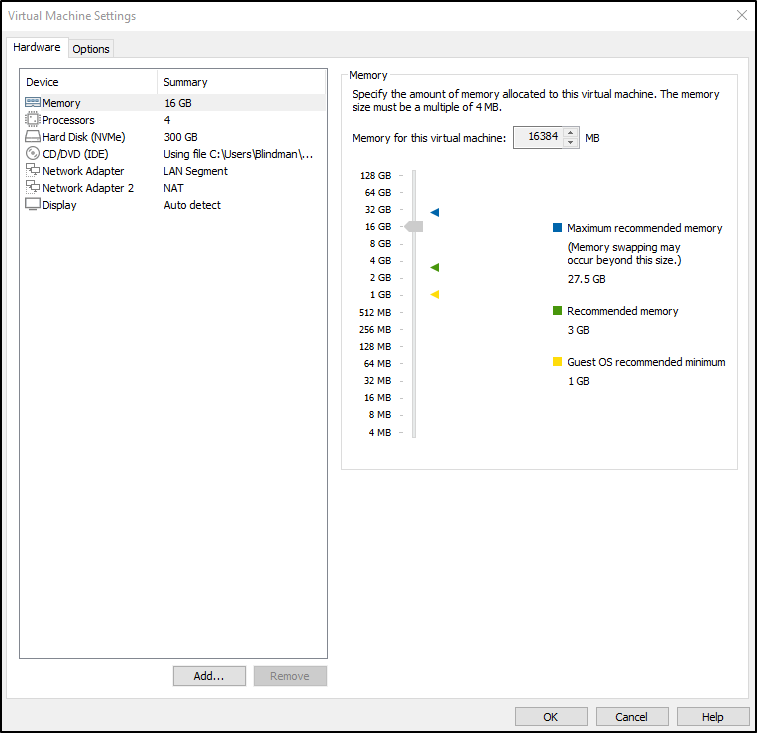
Click Customise Hardware:
- Memory: Allocate at least 24 GB for a Standalone deployment; use 32 GB or more when monitoring even modest traffic volumes.
- Processors: Set to 4
- Under CD/DVD, choose Use ISO image file and browse to the Security Onion ISO you downloaded.
- Add two network adapters with separate roles:
- a management adapter with the IP address and default gateway; and
- a dedicated, addressless sniffing adapter connected to a TAP, SPAN, or isolated lab segment carrying the traffic you are authorised to monitor.
- Click Close and then Finish to create the VM.
Refer to the Hardware Requirements page and select network adapters appropriate for your setup.
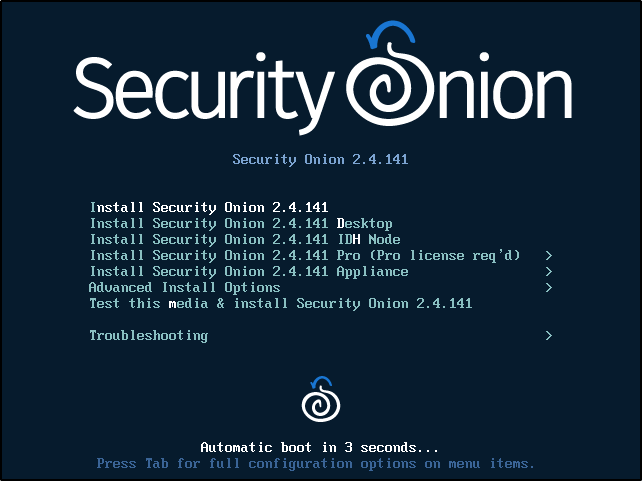
Power on the VM. When the menu appears, select Install Security Onion (top option).
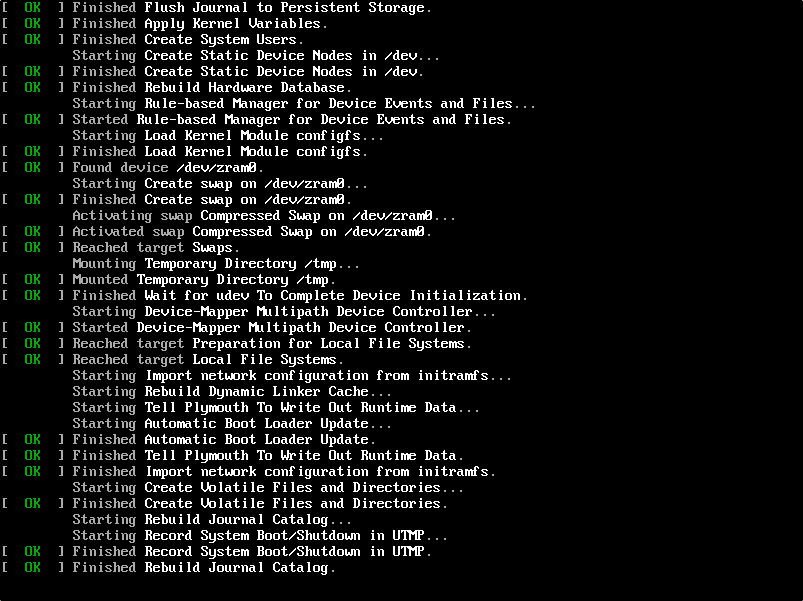
The VM will go through initialisation process (automated script).
When prompted for the warning, type yes to proceed. Create an administrator account with a unique username and strong password. Do not reuse credentials from another environment.
Security Onion will continue with the installation.
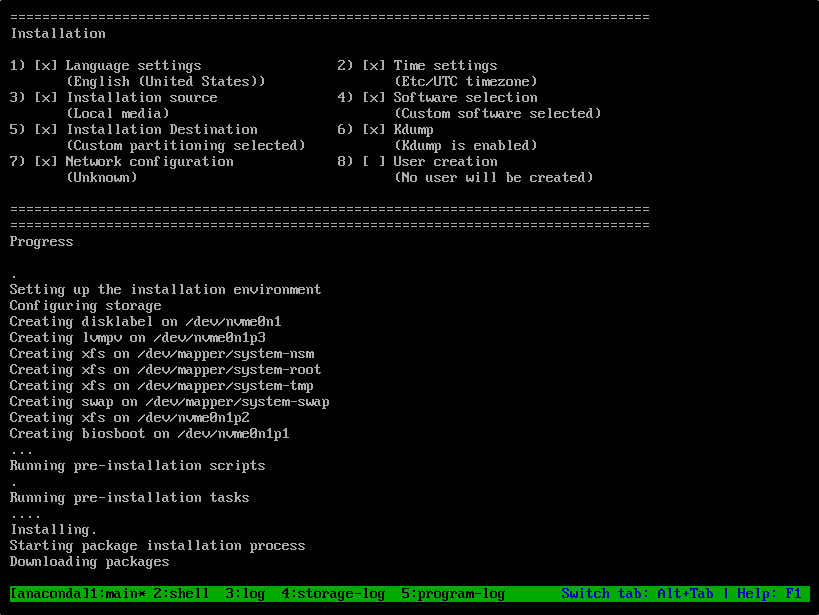
If Security Onion install is stuck at Downloading packages, it may be due to a network issue. To check, navigate to the shell:
Check your network interface (e.g., ens160). If it has no IP, it is not connected.
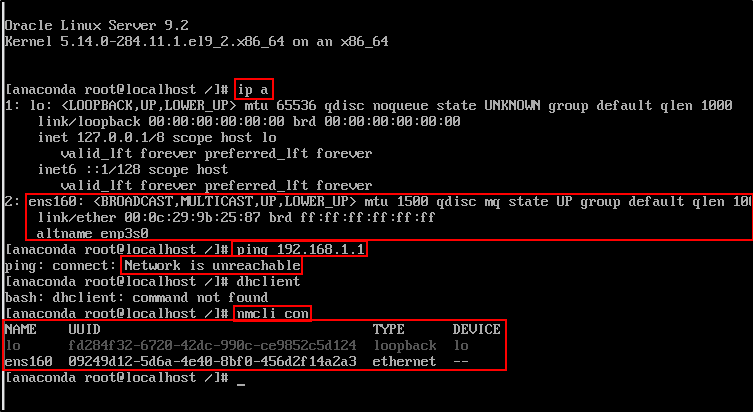
In this case:
- My VM interface
ens160is detected and up, but it has no IP address assigned. dhclientis not available (missing in this minimal Oracle Linux install).- The
nmclioutput showsens160is not attached to any connection profile, which means no network configuration is active.
To manually set up networking:
nmcli con add type ethernet ifname ens160 con-name ens160 autoconnect yes ipv4.method auto
nmcli con up ens160
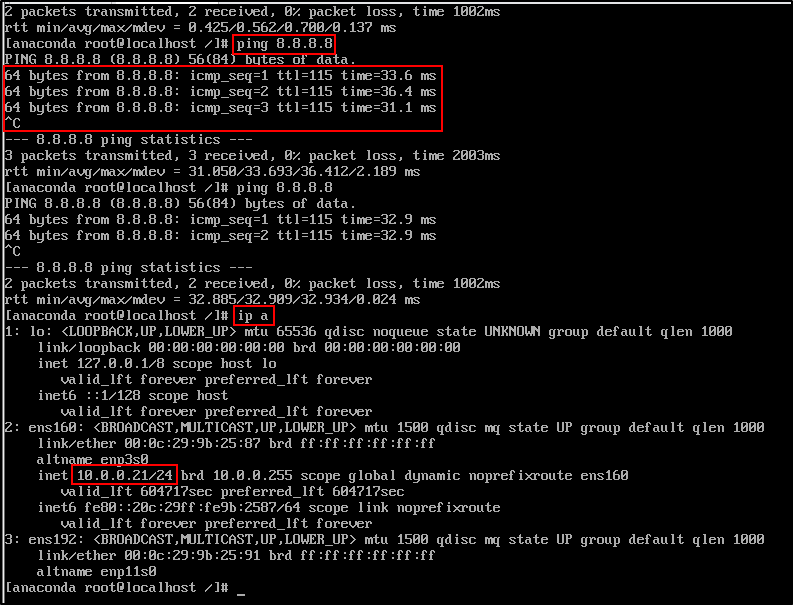
Then check IP and test internet connectivity:
To return to the installer screen, switch back to the main screen
Once network access is working, the installer will proceed with downloading necessary packages. This part can take a while depending on your connection.
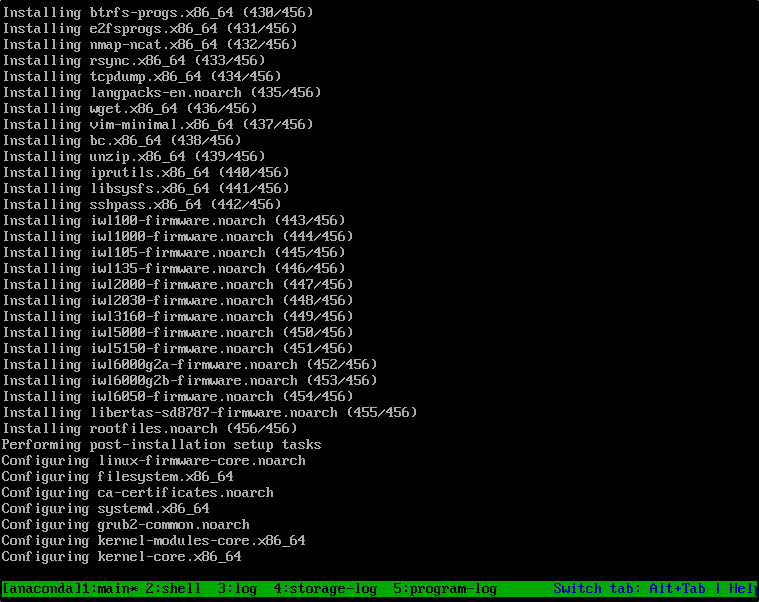
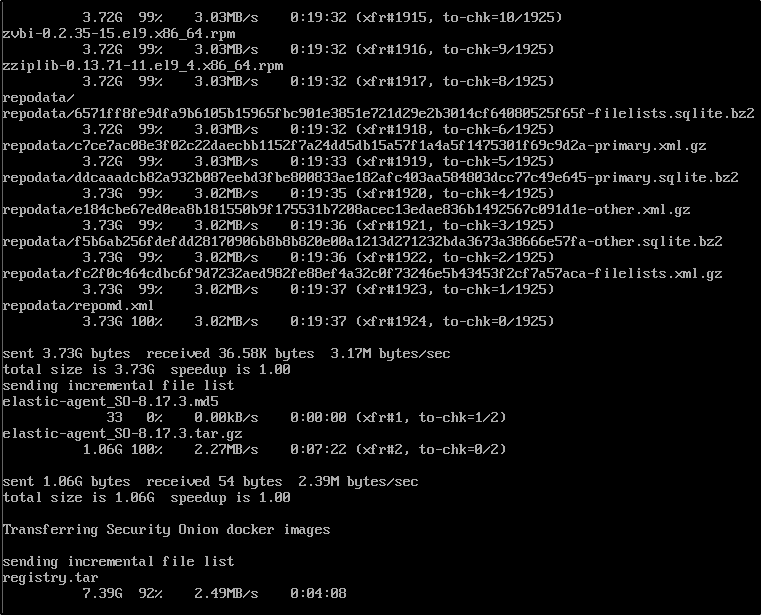
When prompted, press Enter to reboot.

After reboot, login using the administrator credentials you created earlier.
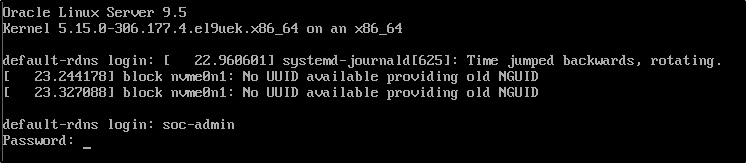
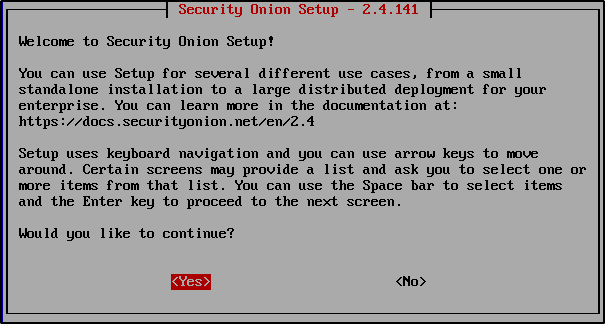
After logging in, you will see a prompt asking if you want to proceed. Select Yes.
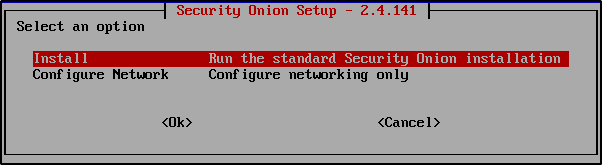
Choose Install to begin the configuration process.
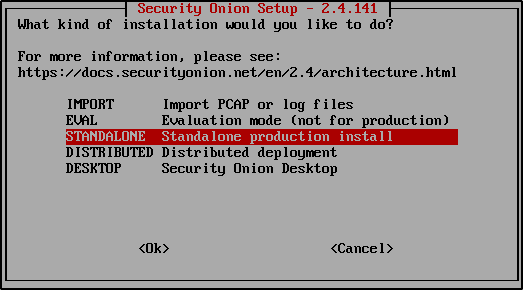
Select Standalone when asked for deployment type.
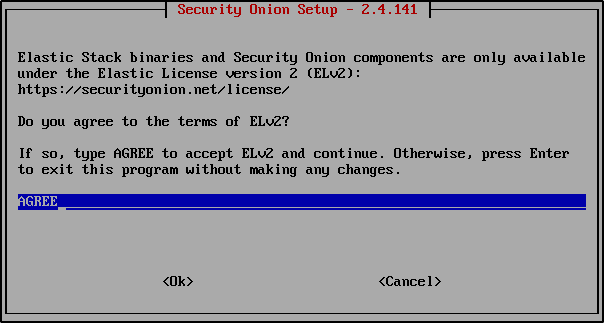
Type AGREE to accept the Elastic Licence version 2.
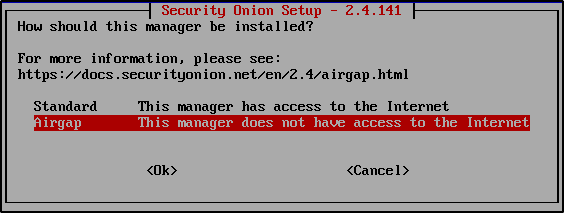
If your VM can access the internet, choose Standard. If you are installing in an offline or air-gapped environment, choose Airgap (as used in this guide).
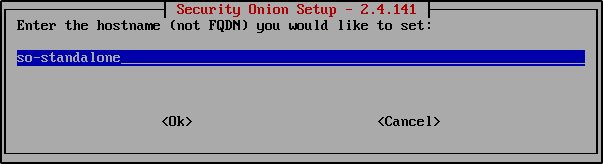
Give your system a hostname. This will identify your Security Onion node. For example:
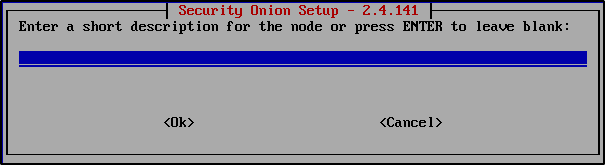
You can add a short description for this node, but it is not required. Feel free to leave it blank.
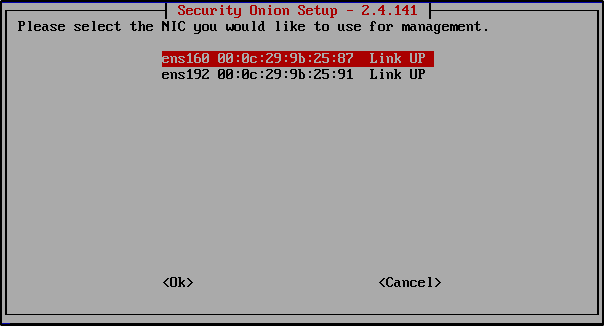
Choose the network adapter that connects to your LAN or firewall. In this example, it is ens160.
Select Static IP address for your management interface.
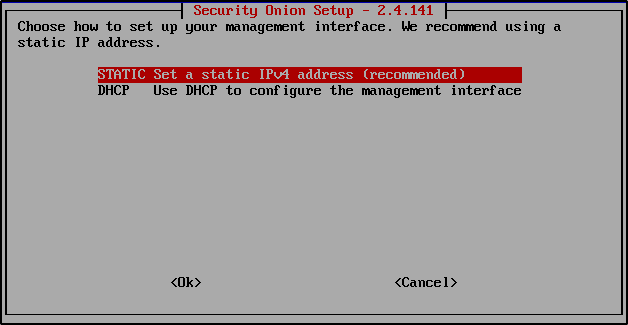
Note that this is the static IP address for your network interface not the VM itself. Earlier, the VM was assigned DHCP IP address of 10.0.0.21. The static IP address must be in the same subnet but the last octet can be different.
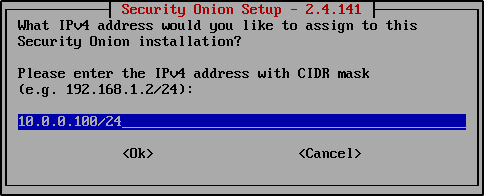
Assign 10.0.0.100/24 to the network interface.
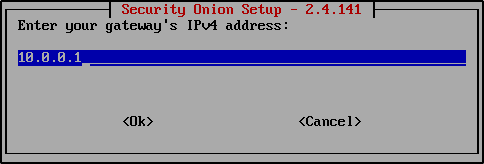
Enter your gateway’s IP address. Note this will be different in your setup.
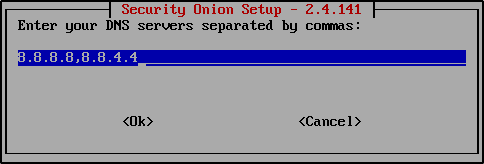
Enter your DNS servers. This will be automatically populated.
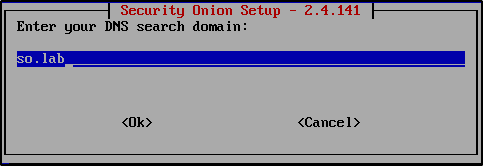
Enter a generic value like so.lab for your DNS search domain.
When asked whether to keep the default Docker IP range, select Yes.

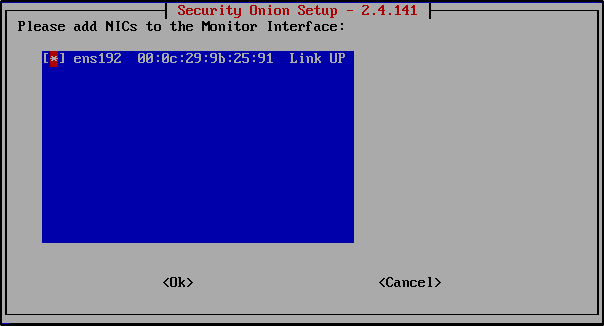
Choose the second network adapter for packet monitoring. In this case, ens192 (NAT network).
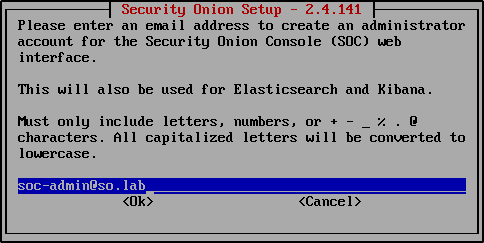
Create an administrator account in email address format for the Security Onion Console (SOC) web interface. It can be a made up email address. Take a note of this email address.
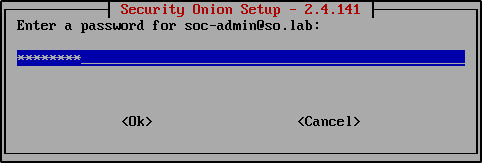
Enter a password for the administrator account.
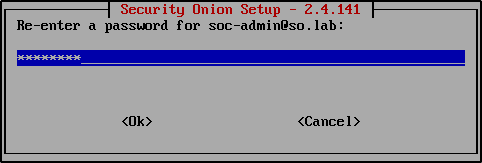
Re-enter the password.
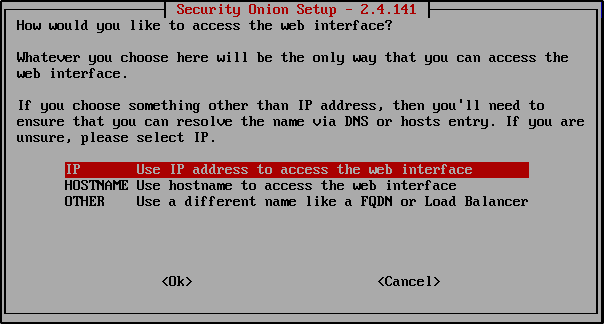
Select IP to access the web interface.
Select Yes to allow access to this Security Onion installation via the web interface.

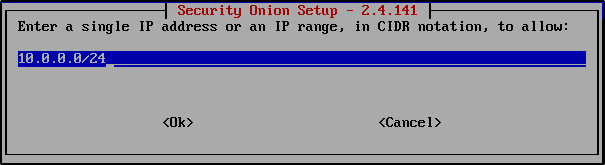
Enter the 10.0.0.0/24 to allow access from this subnet. Note your network setup may be different so verify your subnet.
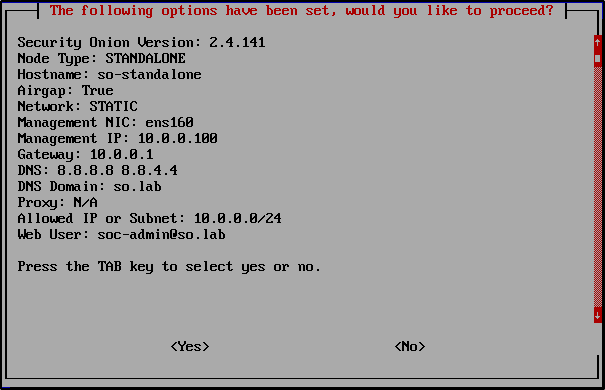
Review your settings. If everything looks right, select Yes to proceed.
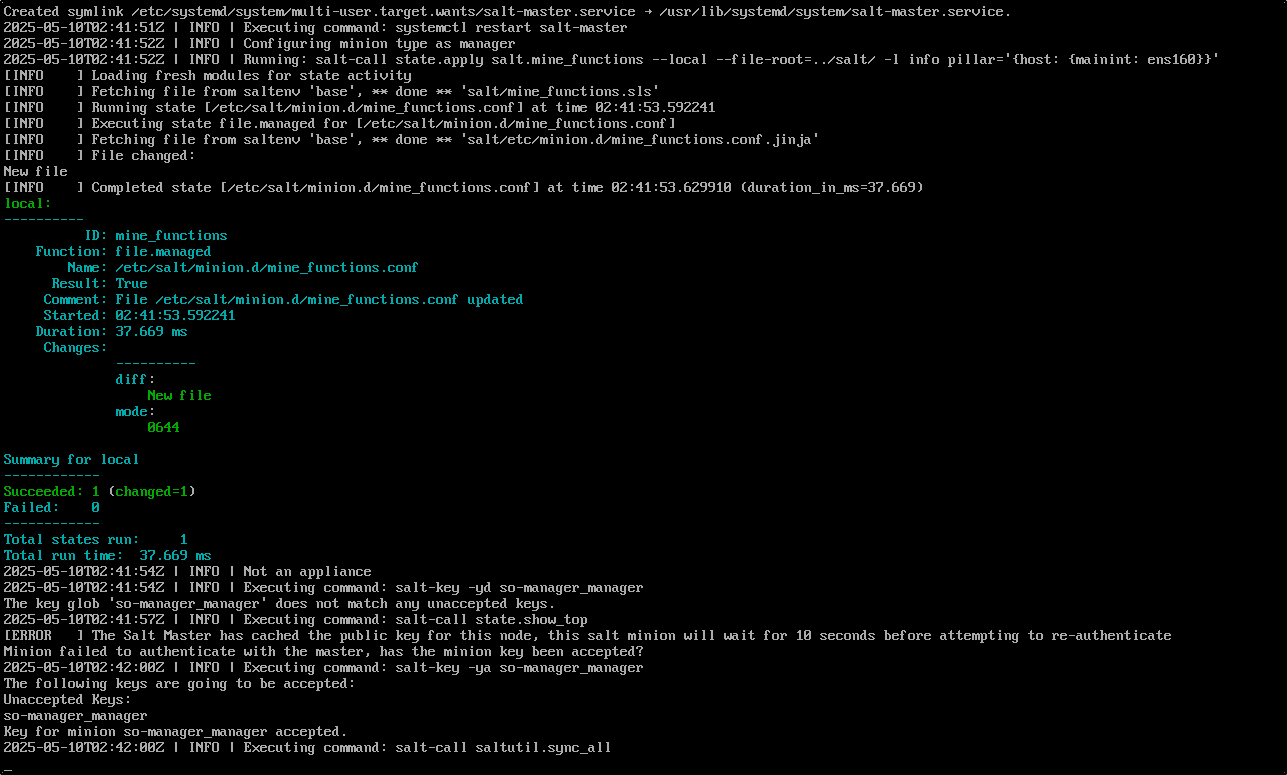
Security Onion will now run an automated configuration script. This may take 10–30 minutes depending on your system.
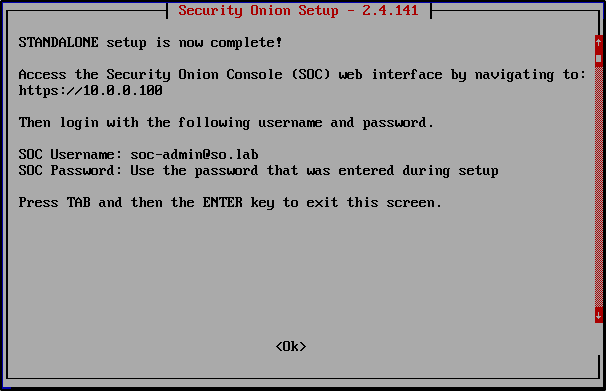
After installation is complete, you can access the SOC web interface by navigating to https://10.0.0.100.
Verify that all containers are running by entering the following command on the terminal of the Security Onion VM:
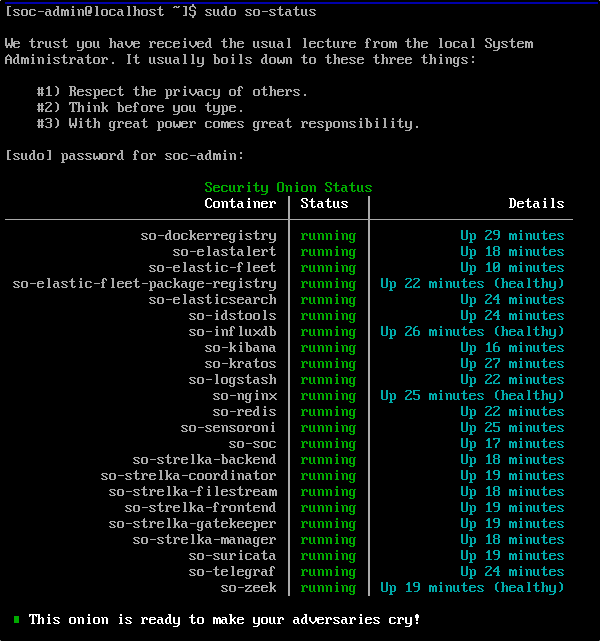
Accessing SOC Web Interface
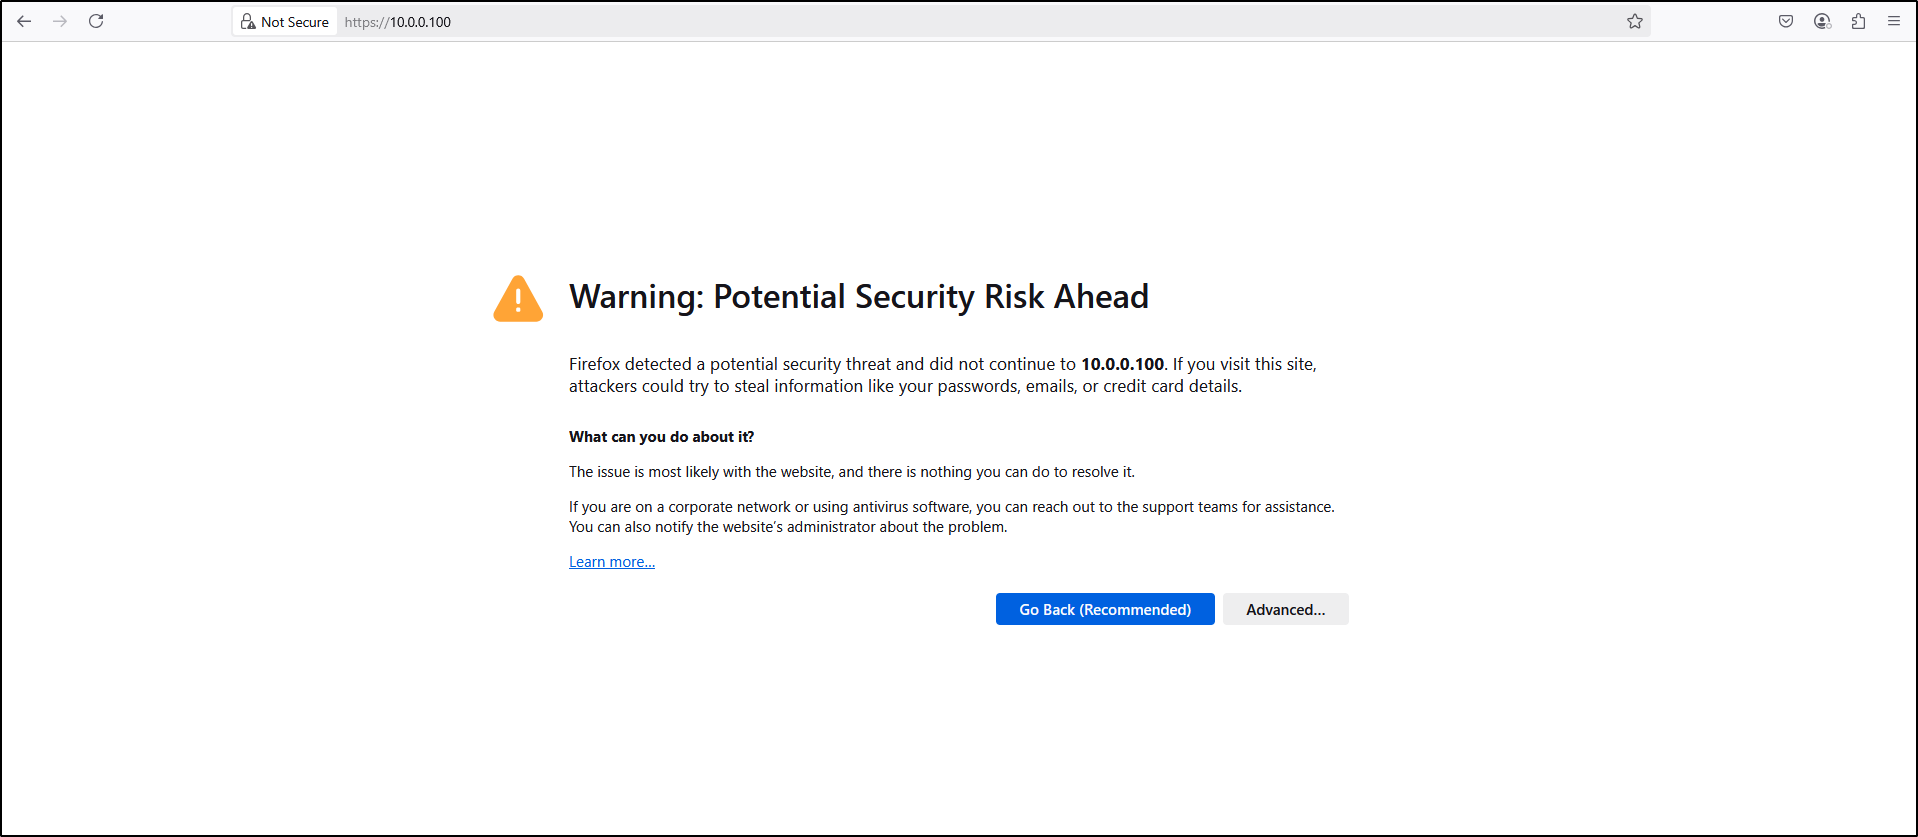
From the WS2019 VM, open a web browser and navigate to https://10.0.0.100. When prompted for a warning, click Advanced then select Accept the Risk and Continue.
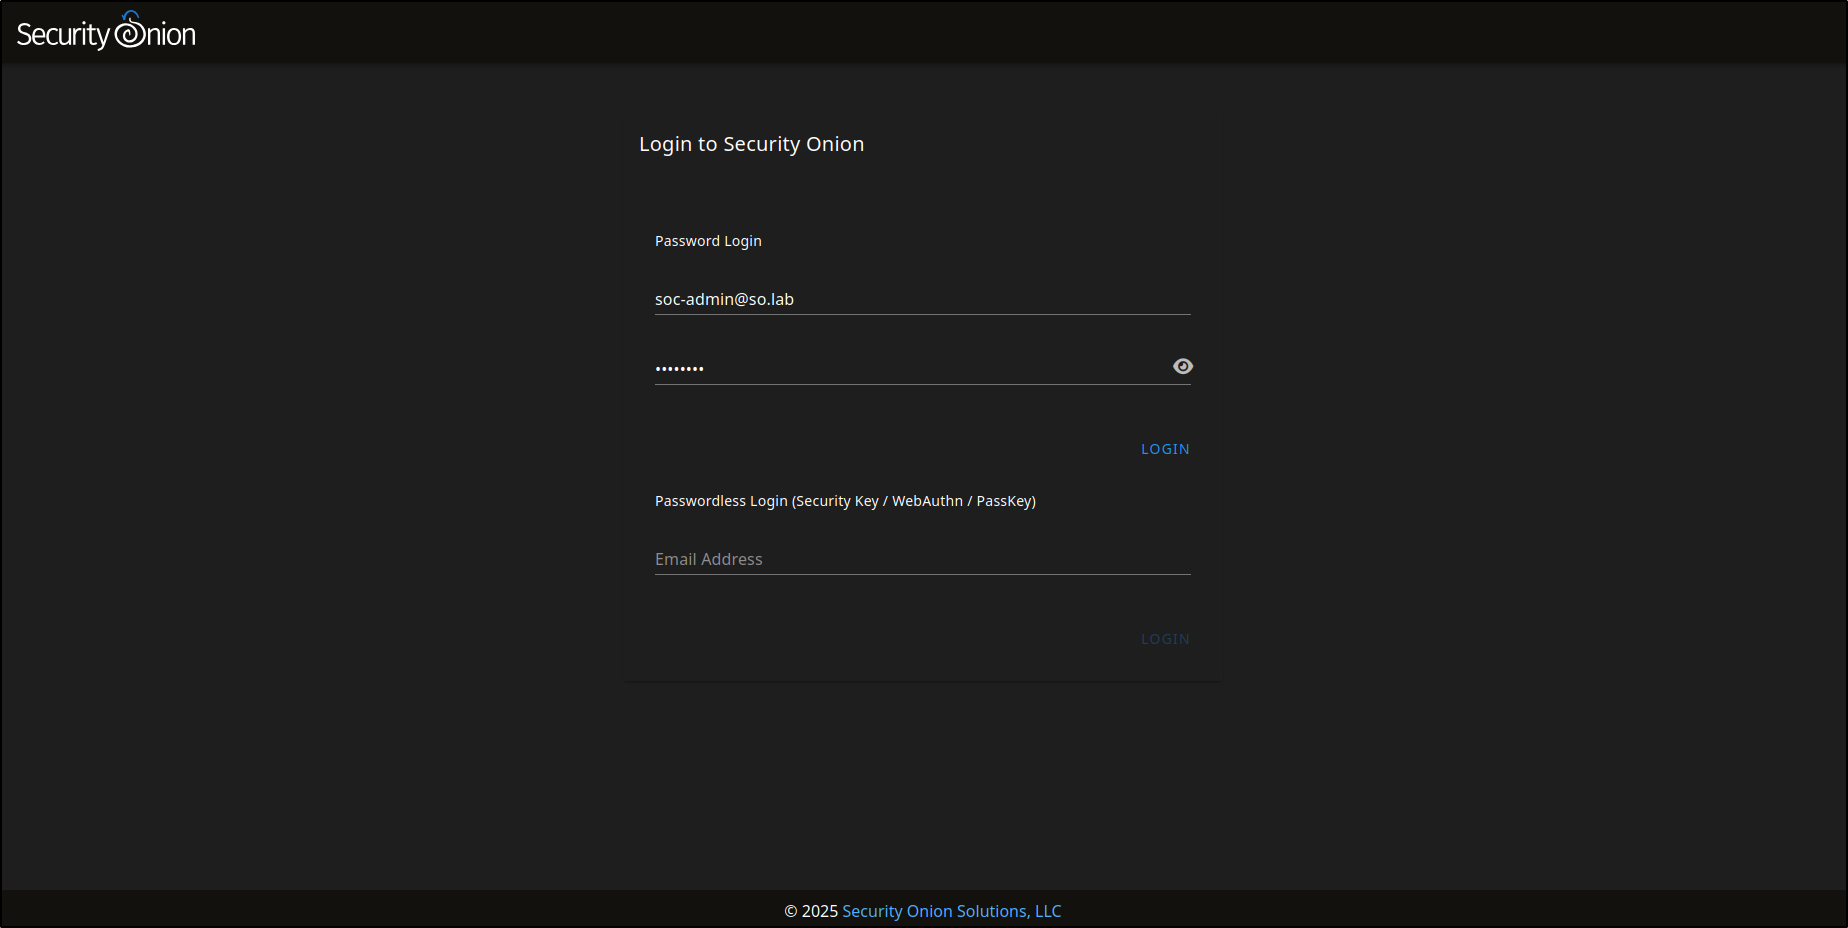
Login to SOC web interface using the administrator credentials.
Navigate to Grid page and verify that all containers are running on the Security Onion Manager.
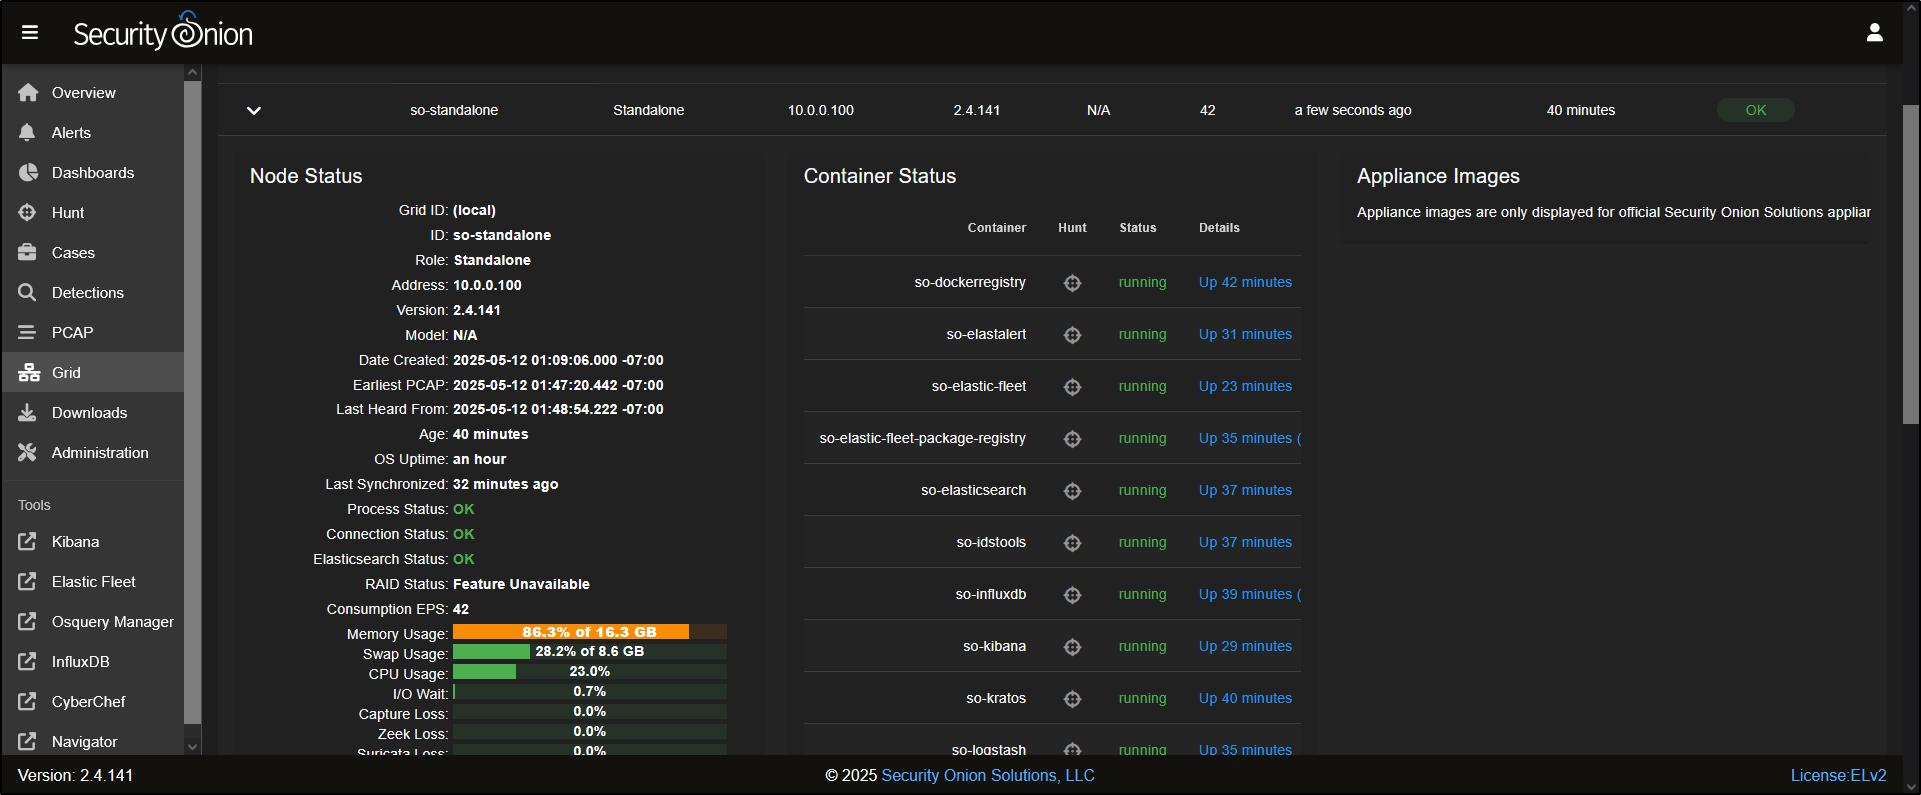
Checkpoint: verify the Standalone node
Run sudo so-status, then confirm Grid reports the expected services as healthy.
Open SOC from an authorised workstation, verify the certificate decision, and
record the installed version from /etc/soversion.